
If the sink is backing up or draining slowly, you can often clear it in minutes with a cup plunger and the right setup. Here’s exactly how I do it at home, plus what to try if it doesn’t budge. We’ll cover how to use a plunger on a sink correctly, what usually goes wrong, and when to stop and call a pro.
How to Use a Plunger on a Sink: Step-by-Step
1) Pick the right plunger: use a simple cup plunger (flat rim). The flange style made for toilets won’t seal well on a flat sink.
2) Clear the strainer: remove the basket/stopper so the cup meets a flat surface. If the sink has a removable grid, lift it out.
3) Fill to cover the cup: add enough warm water to submerge the plunger’s rubber by 1–2 inches. Water transmits force; air just compresses and wastes effort.
4) Seal the overflow: for bathroom sinks, press a wet rag firmly over the overflow hole. For kitchen double bowls, plug the other drain completely with a tight stopper or wet rag in a plastic bag. No seal = no pressure.
5) Seat the plunger: center it over the drain and press down slowly to burp out trapped air. You want a solid, watertight seal all around the rim.
6) Plunge with rhythm: use short, forceful pushes and pulls, keeping the cup sealed. Think 10–15 strokes, about 1 per second. Don’t lift the rim or you lose pressure.
7) Break the seal and check: lift the plunger. If water races away, run hot water for 30–60 seconds to flush loosened debris. If it only improves a little, repeat 2–3 more rounds.
8) Reassemble and test: reinstall the stopper/strainer and check for leaks under the sink once the drain runs freely.
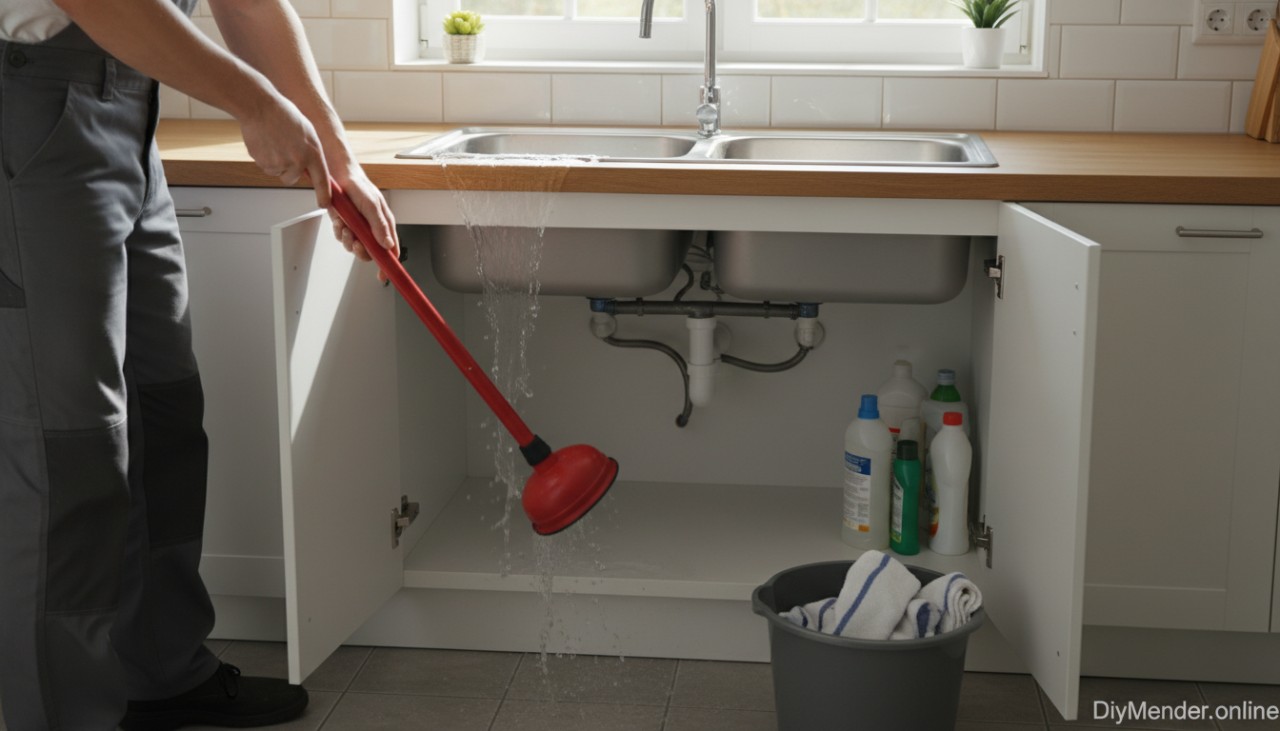 kitchen sink: one drain tightly plugged, water level above plunger cup, bucket and towels nearby, cabinet doors open showing trap, bright natural light; include a small, readable “DiyMender.online” watermark in the lower corner" title="Photo-style scene of a homeowner plunging a double-bowl kitchen sink: one drain tightly plugged, water level above plunger cup, bucket and towels nearby, cabinet doors open showing trap, bright natural light; include a small, readable “DiyMender.online” watermark in the lower corner" class="overly-article-img">
Why Plunging Works (and Why It Sometimes Doesn’t)
A sink clog is usually a wad of soft material—soap scum, shaving residue, toothpaste, fat, coffee grounds, or hair—stuck in the trap or just past it. Plunging momentarily reverses and then accelerates water flow, flexing the clog until it breaks apart. It fails when air leaks around the rim, the overflow is open (pressure escapes), the clog is a rigid object (cap, screw, broken plastic), or the blockage is far down the branch line where the pulse can’t reach.
Special Setups That Change the Approach
Bathroom sinks with overflows: you must seal the overflow or your force vents there instead of the clog. A soaked rag works best; hold it firmly while plunging.
Kitchen double-bowl sinks: tightly plug the other bowl’s drain. If not, the pressure just shuttles between bowls.
Sinks with garbage disposals: switch the disposal OFF and unplug it if possible. Do not plunge if the housing is cracked or loose. Plunge the opposite bowl first; if the disposal side is the only one, use gentle strokes and avoid overfilling.
Shallow vessel sinks or sculpted drains: if a flat seal isn’t possible, use a universal drain cover (flat rubber disc) over the opening, then plunge on top of that for a seal.
Prep Tips That Make or Break the Seal
Use warm water, not boiling. Boiling can soften gaskets or craze porcelain.
Smear a little petroleum jelly on the plunger rim for a better seal on rough sinks.
Remove standing greasy scum first so the cup doesn’t slip; a quick wipe helps.
If the cup collapses, you’re pushing too hard or don’t have enough water.
What to Try If Plunging Doesn’t Clear It
Try a trap clean-out: place a bucket under the P-trap, loosen the slip nuts, and remove the trap. Clear the plug of sludge or foreign objects. Reassemble with the washers in the same orientation and hand-tighten, then snug a quarter turn.
Use a small drain snake: feed 1/4-inch or smaller through the trap arm toward the wall. Rotate while advancing; withdraw with the debris. Flush hot water for a minute.
Enzymes overnight for organic clogs: use an enzyme cleaner after mechanical attempts. Avoid mixing with prior chemical drain cleaners.
Common Mistakes I See (And How to Avoid Them)
Overflow left open: it’s the number-one reason plunging “doesn’t work.” Seal it tight.
Wrong plunger: toilet flanges don’t seal flat sinks. Use a cup plunger.
Too little water: the cup must be submerged. Add water if needed.
Wild pumping: lifting the rim breaks the seal. Keep it planted and use steady strokes.
Chemicals first: caustic cleaners can splash during plunging and burn skin or damage finishes. If you already used them, skip plunging and let a pro handle it.
When to Stop and Call a Pro
Stop if water backs up into nearby fixtures (tub or another sink), you hear gurgling from other drains, or multiple drains are slow—that points to a main line issue beyond a plunger’s reach. Also stop if you find black sludge with sewer odor right away (could be a venting or deeper blockage), or if you see leaks at the trap or tailpiece while plunging. Any sign of corroded metal traps collapsing means it’s time to replace parts or get help.
Aftercare: Keep It Flowing
Run very hot water for 60–90 seconds after a successful plunge to carry loosened grease away. Wipe congealed fats into the trash rather than rinsing them. A monthly flush of hot water with a small squirt of dish soap helps in kitchens, and a hair catcher in bathroom sinks prevents most re-clogs.
Quick Troubleshooting Cheatsheet
Air hissing around cup: reseat, add a dab of petroleum jelly, or clean rim.
No movement in water level after 2–3 rounds: check and seal overflow/other bowl.
Clog returns immediately: clean the P-trap; buildup is likely sitting there.
Disposal hums but doesn’t spin: reset and free the impeller with the hex key at the base before plunging.
Used correctly, a basic cup plunger is still the fastest, safest first move for most sink clogs. Spend an extra minute on the seal and water level and you’ll usually win without taking anything apart.